Graphic Design I explores art made with text. It includes both hands-on and computer based projects. Students start out learning about and making graffiti and calligraphy projects. We have some history of printing and print making with a block printing project. Then we move into computers with some Adobe practices. Students wrap up the semester by designing buttons and t-shirts for community events.
Warm-ups for the homecoming button and t-shirt designs:
You can pause the videos and go back to parts you need to rewatch
Video: Beginner Adobe Illustrator Tutorial Using Shapes -Remember to open Adobe Illustrator.
Video: How to Create a Retro Style Badge Logo in Adobe Illustrator -Remember to open Adobe Illustrator.
The guy is using an Apple computer, not Windows. Ignore his "command key" shortcuts. If you want shortcuts, use CTRL+C to copy and CTRL+V to paste.
Simple Erase, Draw and Paint in Photoshop
Follow these directions to do the assignment
- Start a new Photoshop document. Make sure it is formatted for CMYK color.
- In Photoshop go File > New. When the window opens find Color Mode and select CMYK Color.
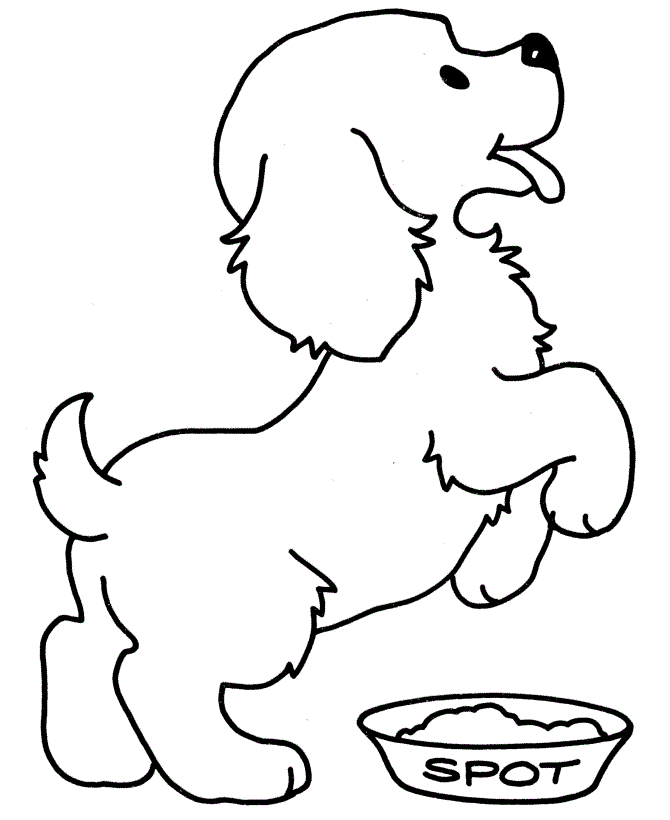
- Copy and paste this dog graphic into your new Photoshop document.
(The graphic was found at this web page.)

- Use the Lasso Tool and the Delete Key to quickly cut out and delete the food bowl.
- Use the Eraser Tool to erase the tonque but leave the mouth lines.
- You can make the eraser bigger or smaller. Use the Brush Preset Picker in the bar menu just above the document.
- Draw a collar on the dog with a black outline. The thickness of the outline should match the rest of the dog's lines.
- Use the Brush Tool set on 100% hardness. Use the Brush Preset Picker to adjust the hardness and the size.
- Use the Color Window to make the Paintbrush black.
- Color the dog and its new collar neatly and completely. Use a different color for the collar than for the dog.
- Use the Paint Bucket Tool (nested "under" the Gradient icon in Adobe CS3) to quickly dump color into the dog's body.
- If you use the Brush Tool, use the Brush Preset to make it bigger or smaller as needed to fill large or small areas.
- Use the Color Window or Swatches Window to choose colors.
- Make sure Mrs. Farwell sees your finished work for feedback and points.
